DiZigns Hearts
larger hearts with carved inlay designs
small dot inlay hearts
“giveaway” hearts
personalized initial/remembrance hearts
scroll down for the above choices
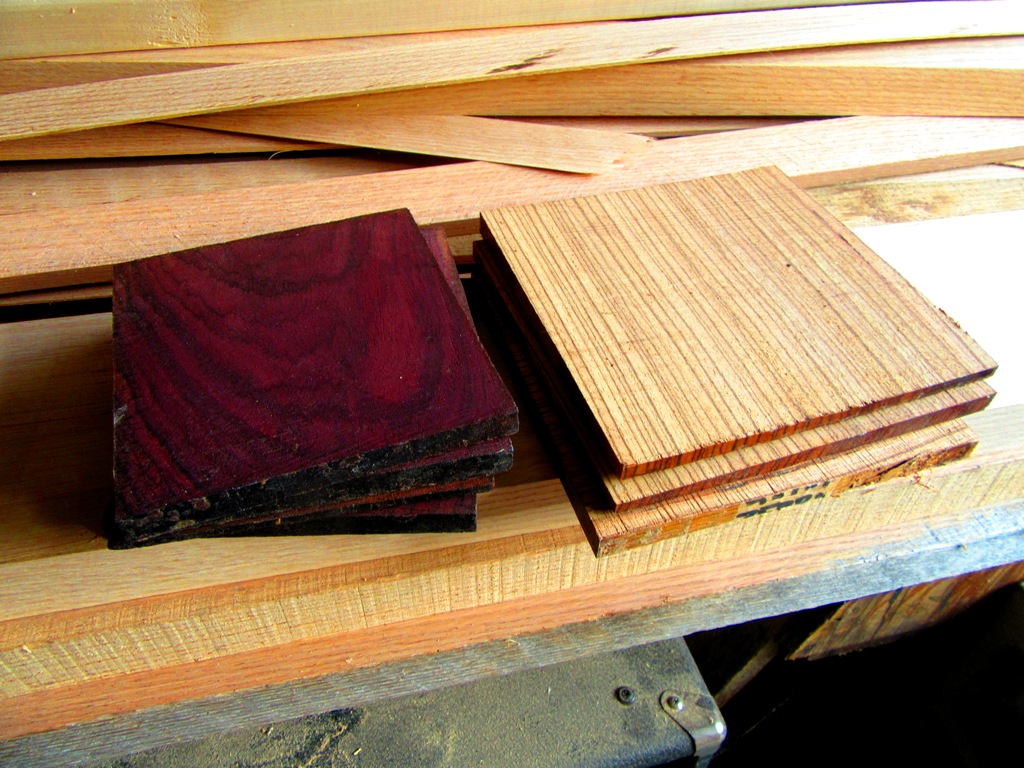
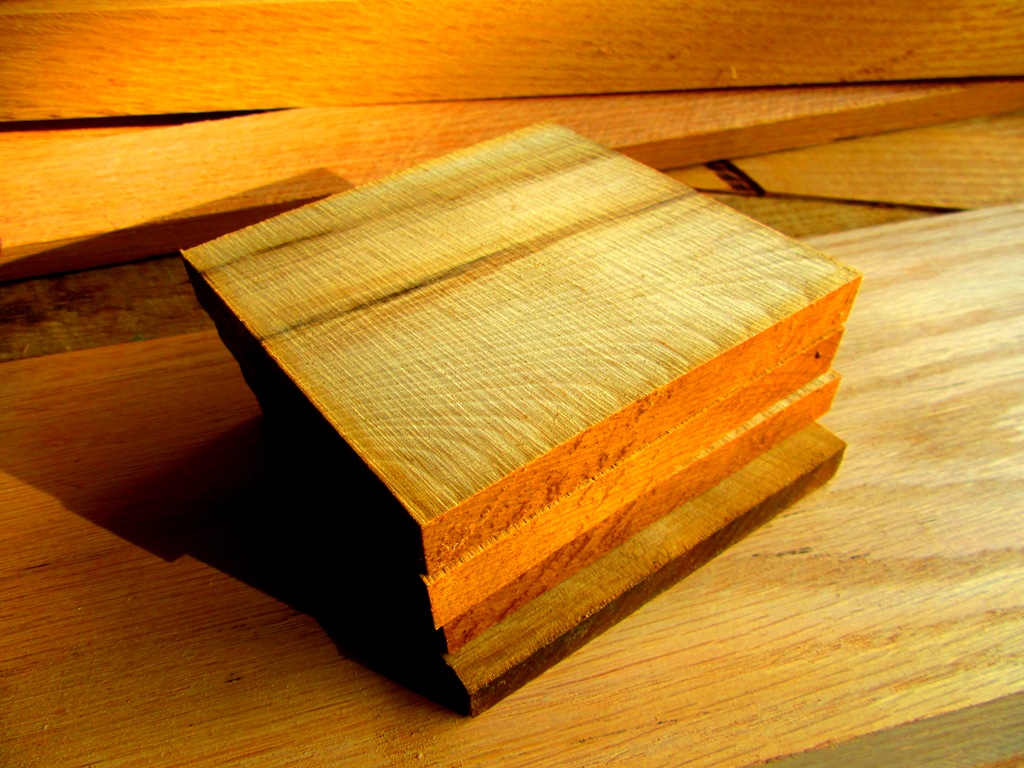
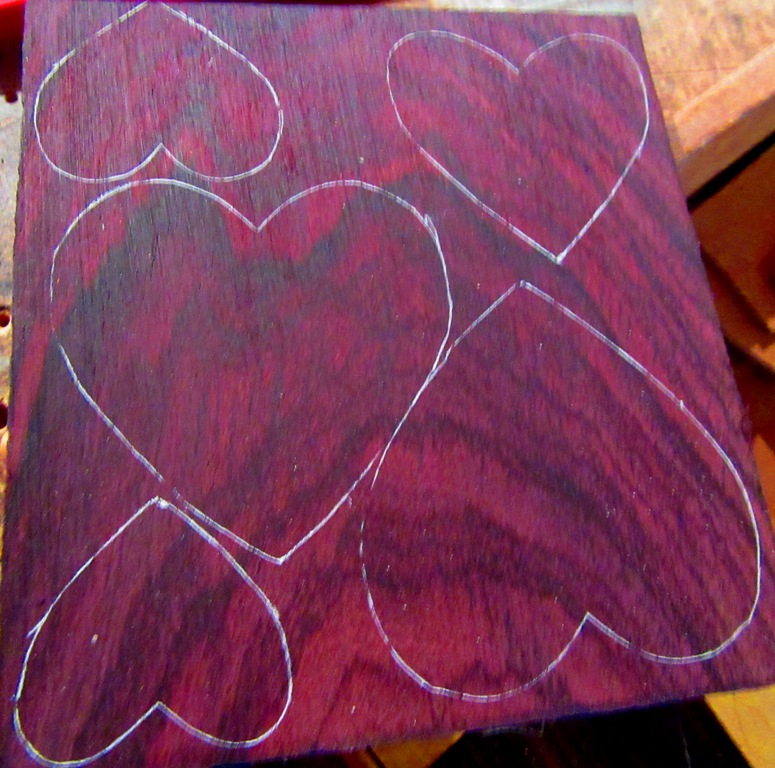
I don’t just purchase some basic wood, predone, I choose the wood for it’s detail and individual beauty, in raw forms. These Rosewood and Zebrawood pieces have been resawn from a block.
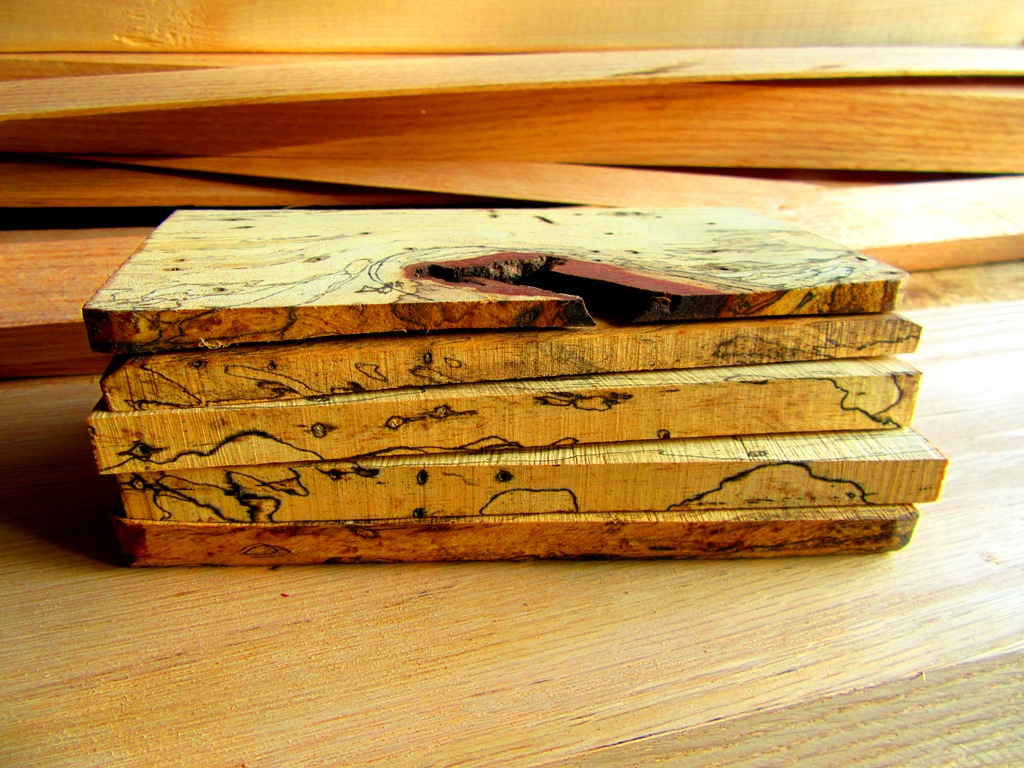
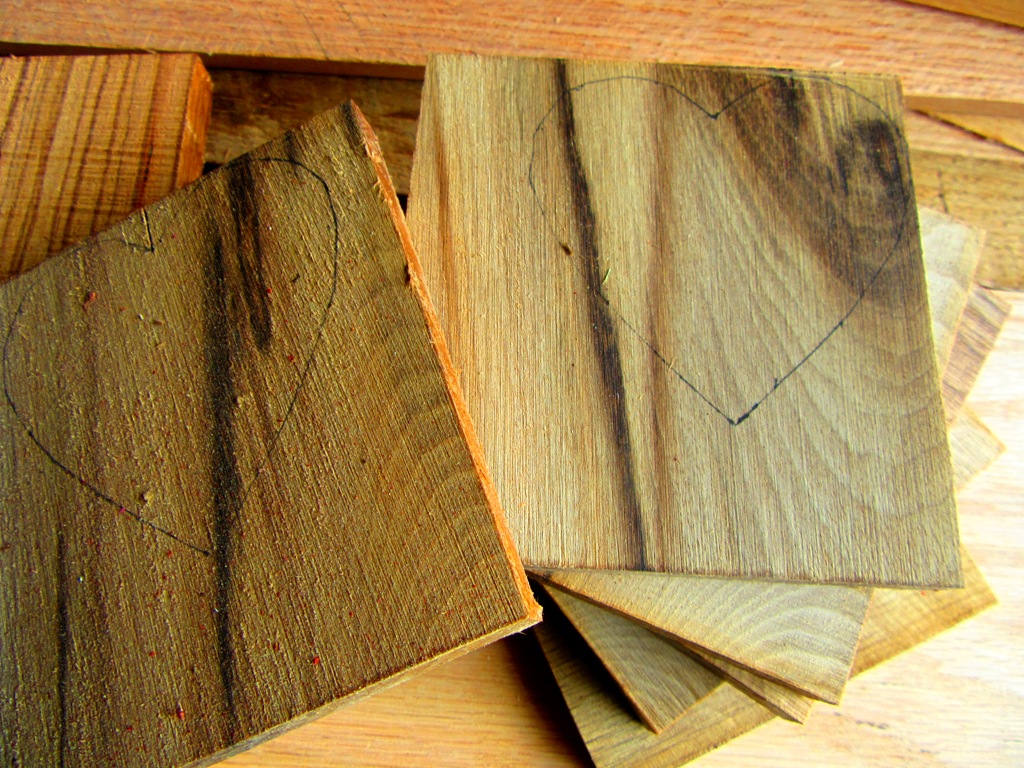
This Spalted Tamarind was also a block and was resawn and I chose the wood for it’s spectacular detail.
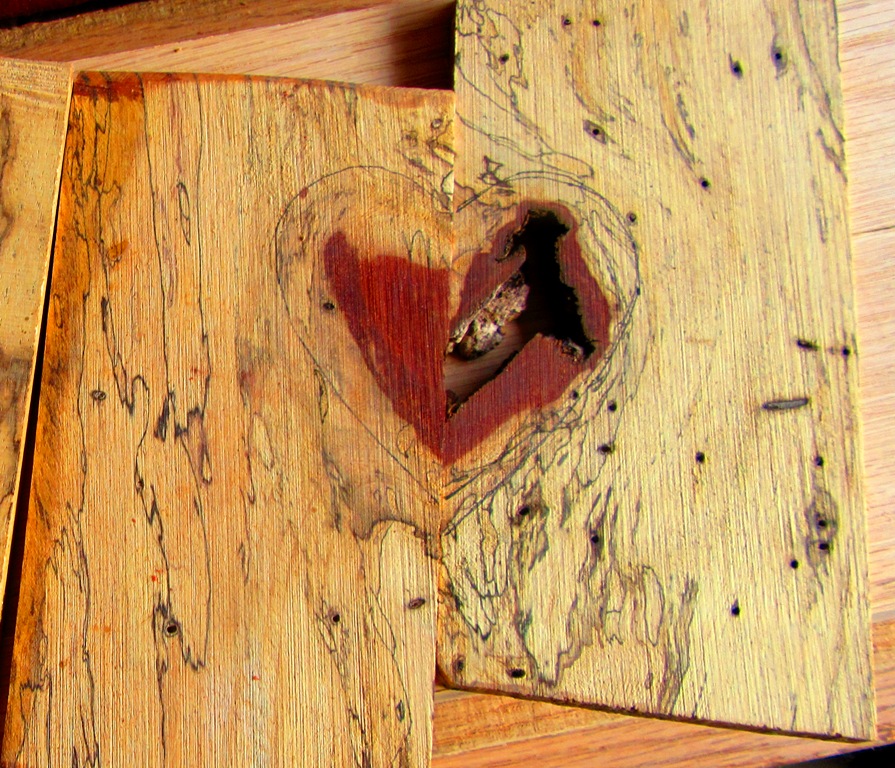
I use imperfections in the woods, actually hope for them because they make such interesting designs. I’m thinking of putting these 2 pieces in that heart shape and making it 2 hearts separate but one….hmmm.
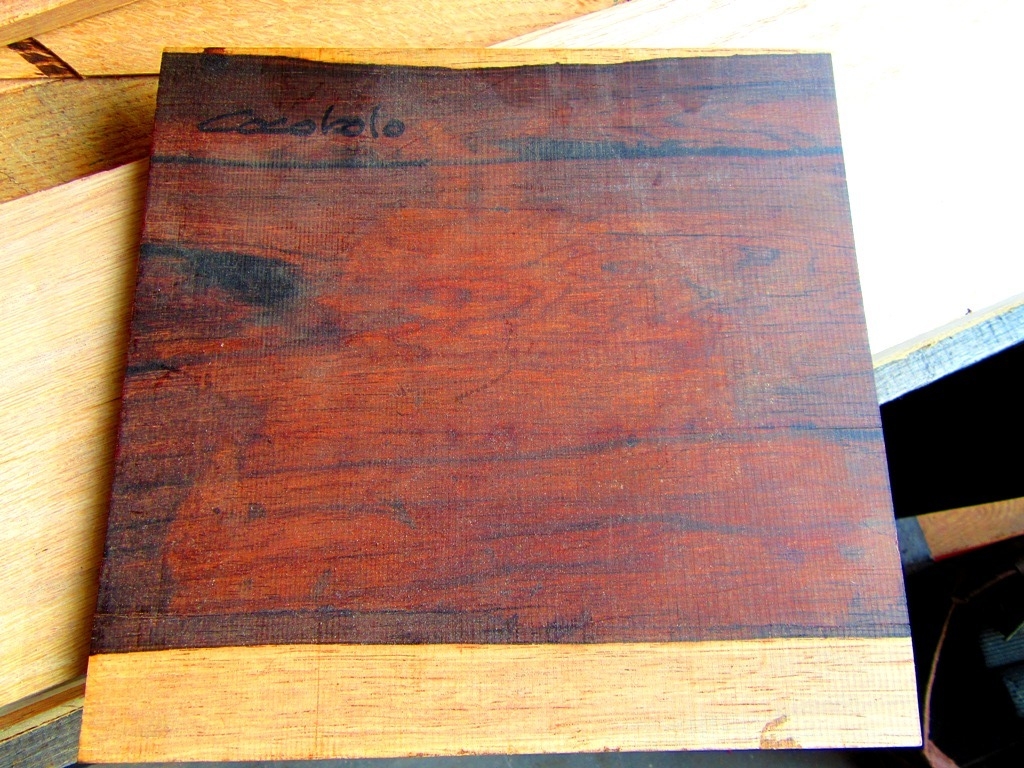
I get wood from different souces, but I love going to the mill and choosing pieces like this Cocobolo with its heart and sap wood so strikingly different.
This Myrtle that I was able to purchase came in a square block and this is the resawn pieces.
Even with the small squares, I choose a section of the piece that has the most interest, or use a heart size or sizes that best shows the effect.
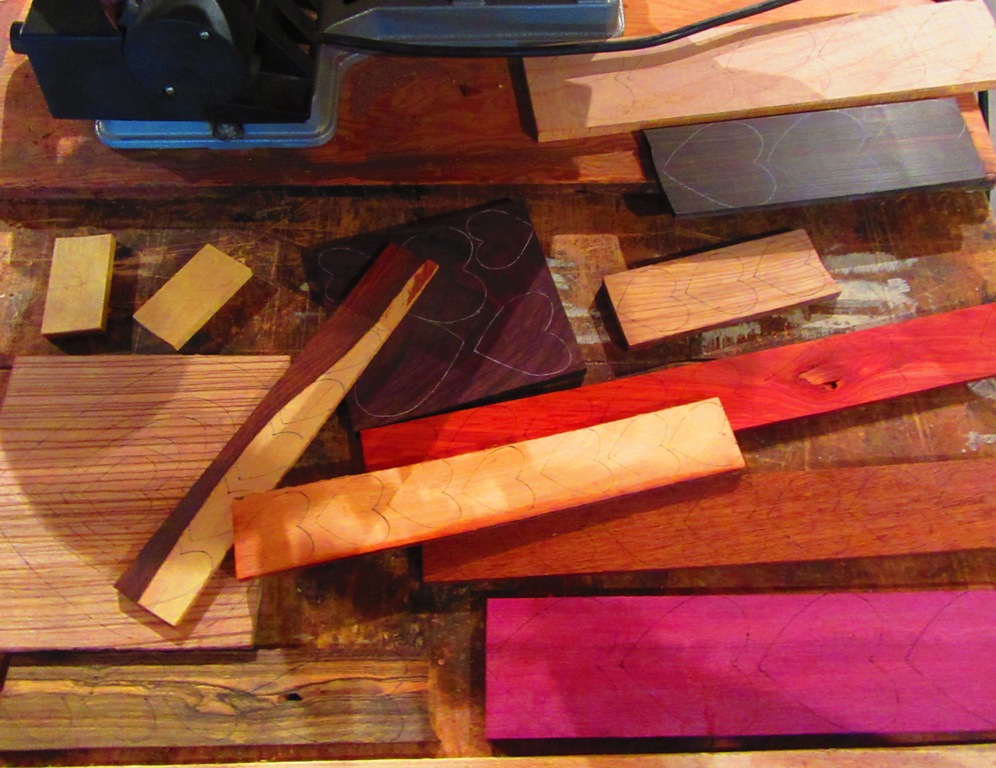
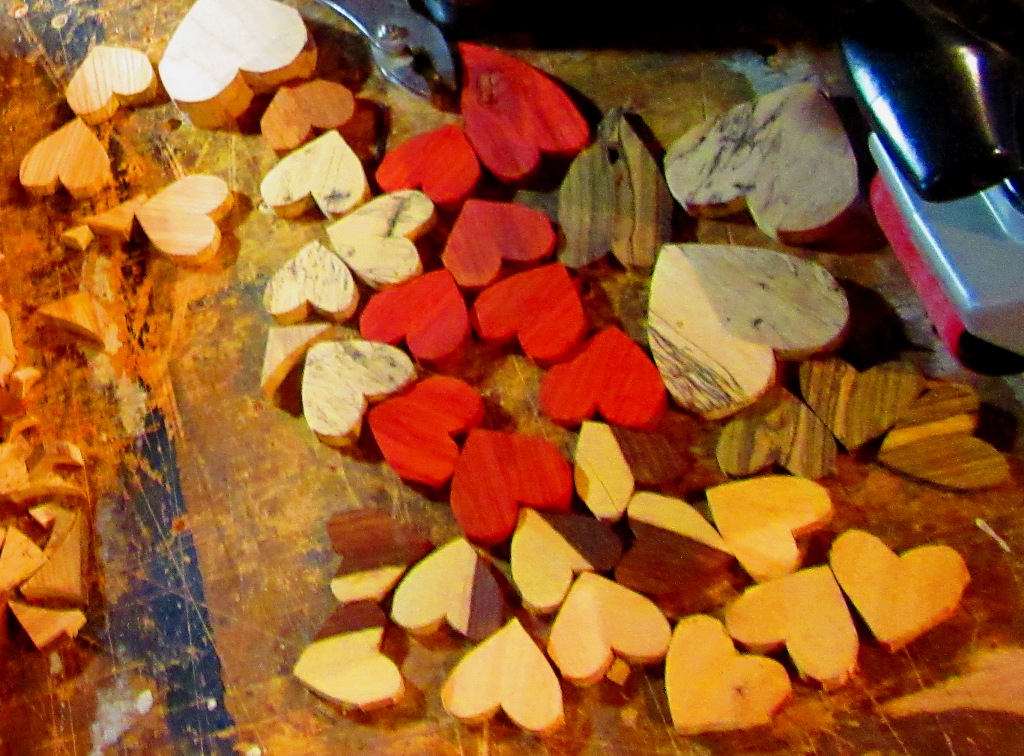
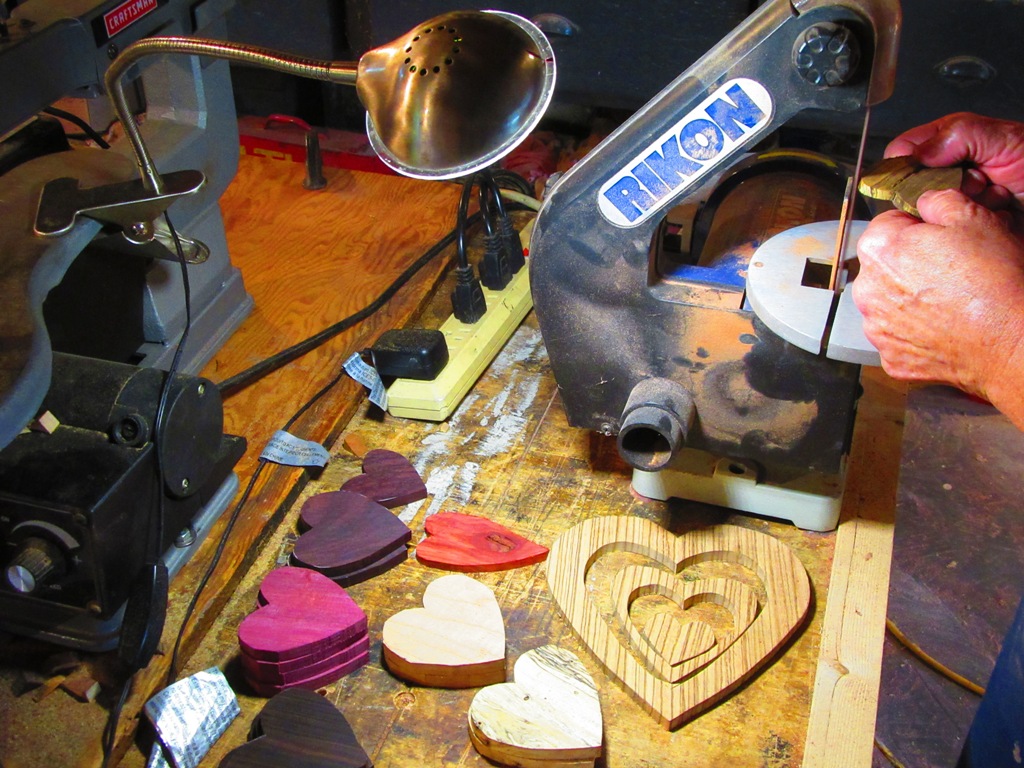
This shows the variety of types of wood that I try to have and the different sizes of hearts I will draw.
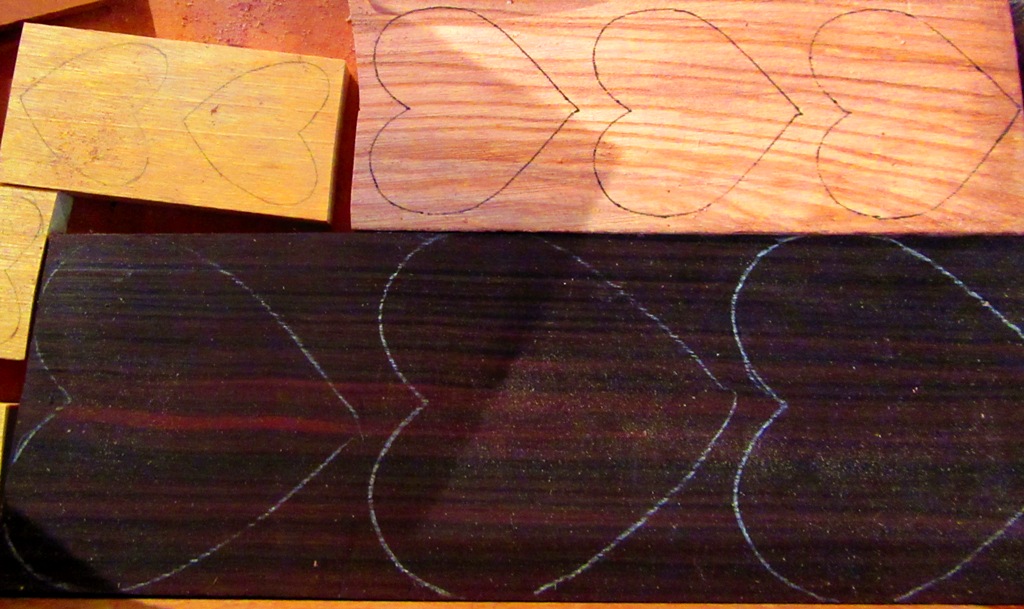
Whatever size wood piece I have, I can cut a size of heart from it….or multiples. The Yellowheart is small, the Olivewood a little bigger and the Ebony is about 3”.
This piece of resawn Rosewood that I showed earlier, shows different size hearts and also placed in reverse to use as much wood as possible.
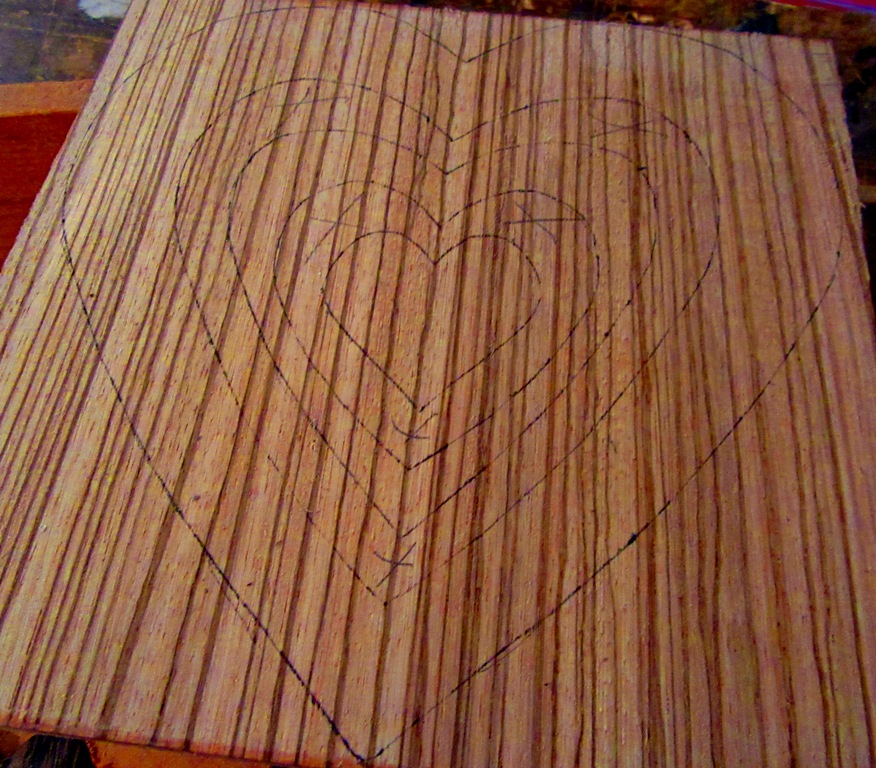
I make my 3 heart hanging piece from one piece of wood and this is the piece with the hearts drawn and the “x-ed” out sections to be cut out to make the hearts.
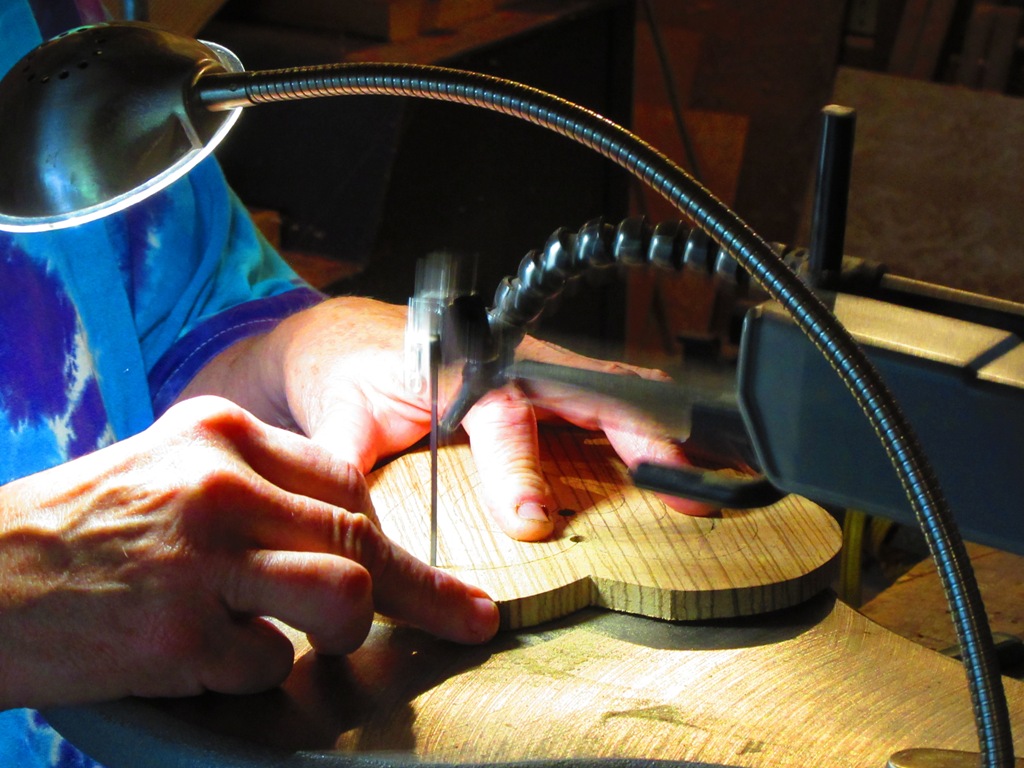
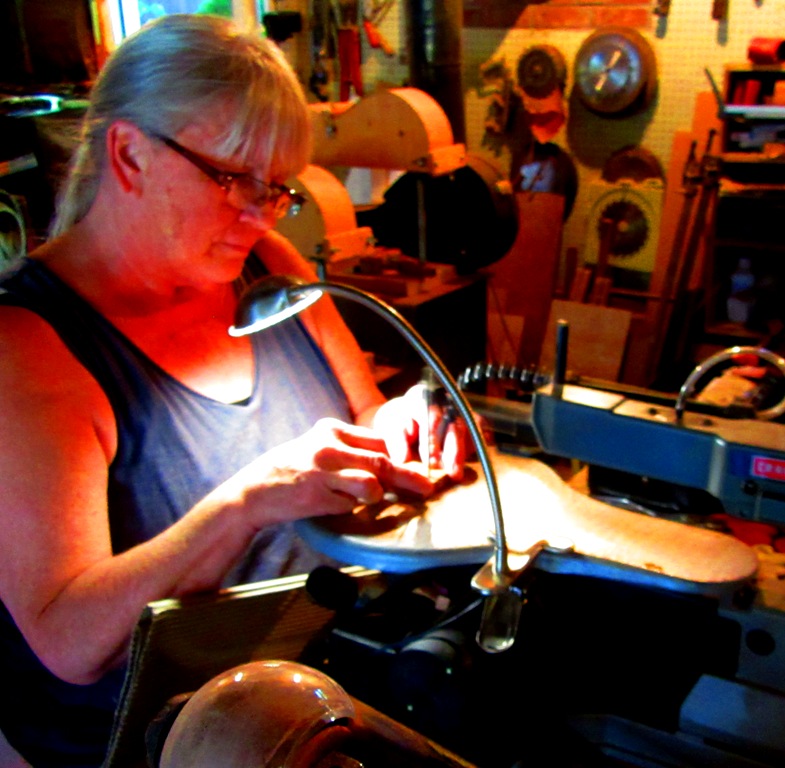
After all the choosing and drawing, I cut the hearts out on my scroll saw. The 3 hearts are cut from this single piece and I have to drill a hole, remove the scroll saw blade and insert through the hole.
I cut any size of heart that I make on my scroll saw. So far I haven’t gone bigger, but it’s an idea for the future.
These are all the raw cut hearts that I showed earlier with hearts drawn on the separate long pieces.
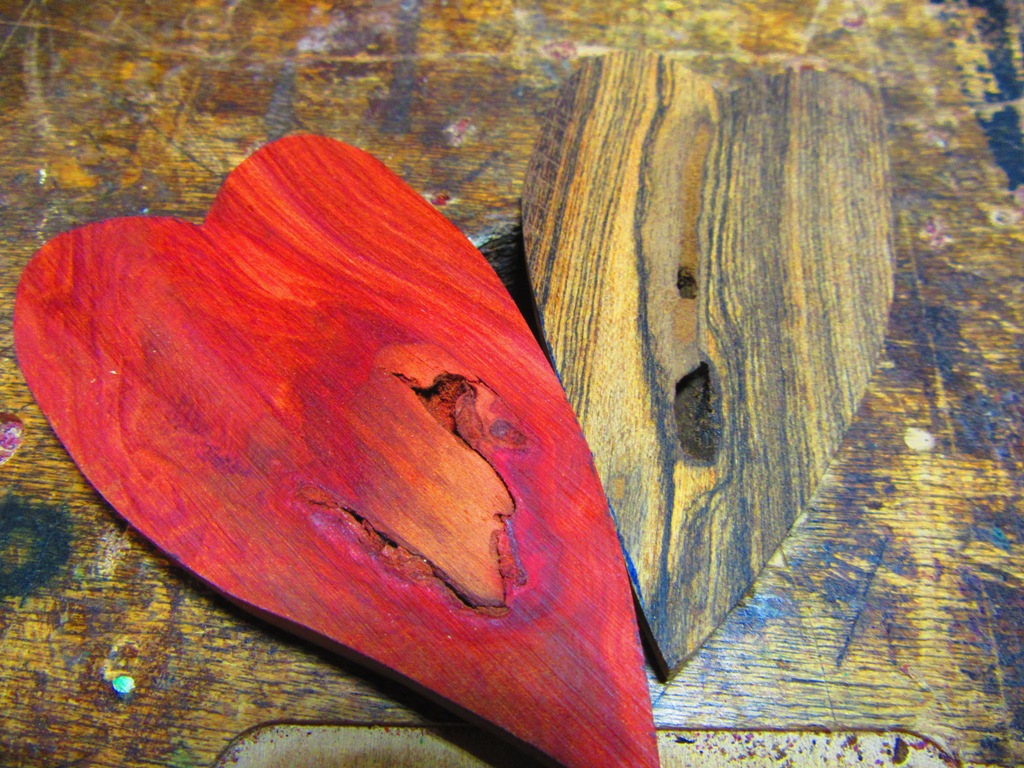
I cut these 2 hearts to include the knots and holes because it adds such interest the way the grain swerves around them and then I cut the heart elongated for a funky look in addition to the holes.
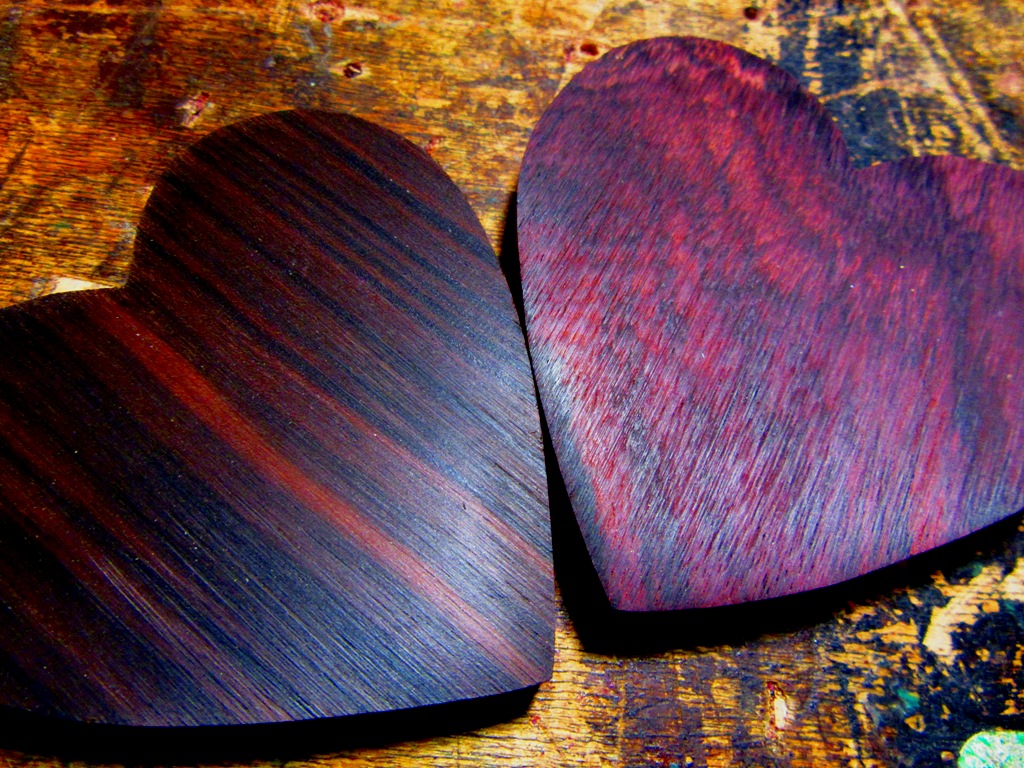
These 2 hearts are not even polyed yet, but are so deep and beautiful already. See the difference in the Ebony and the Rosewood grains.
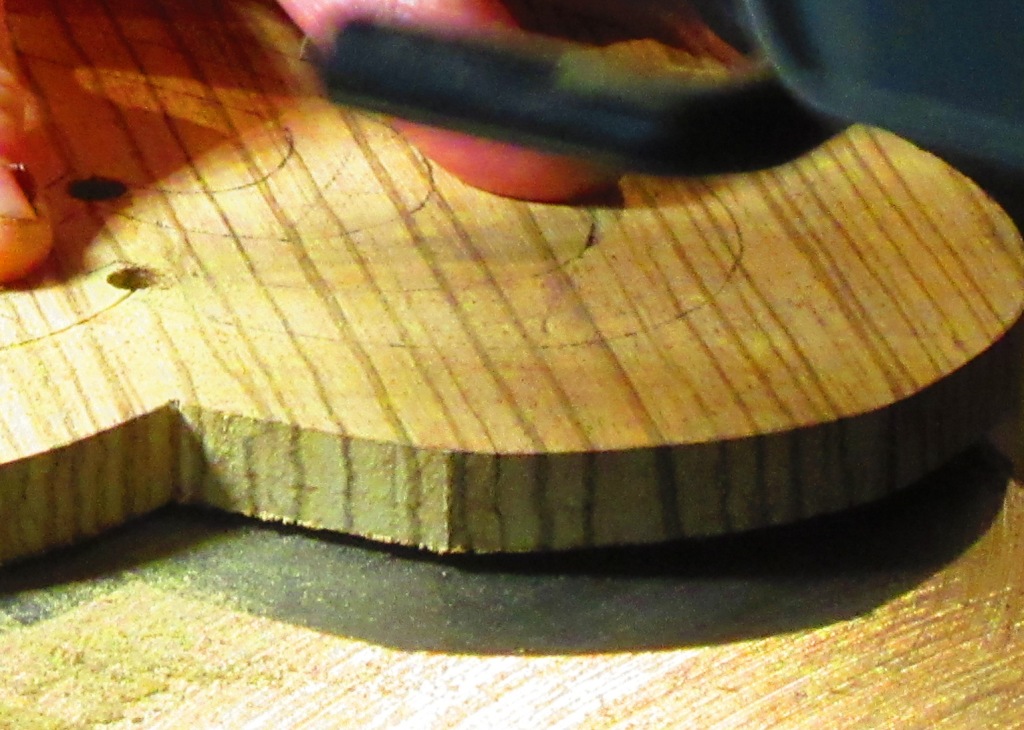
I choose to make my hearts on the thicker side if I can purposely to show how the grain follows from the front to the back of the heart.
After cutting the hearts out, there is a great deal of sanding, machine and hand, on the edges and fronts and backs.
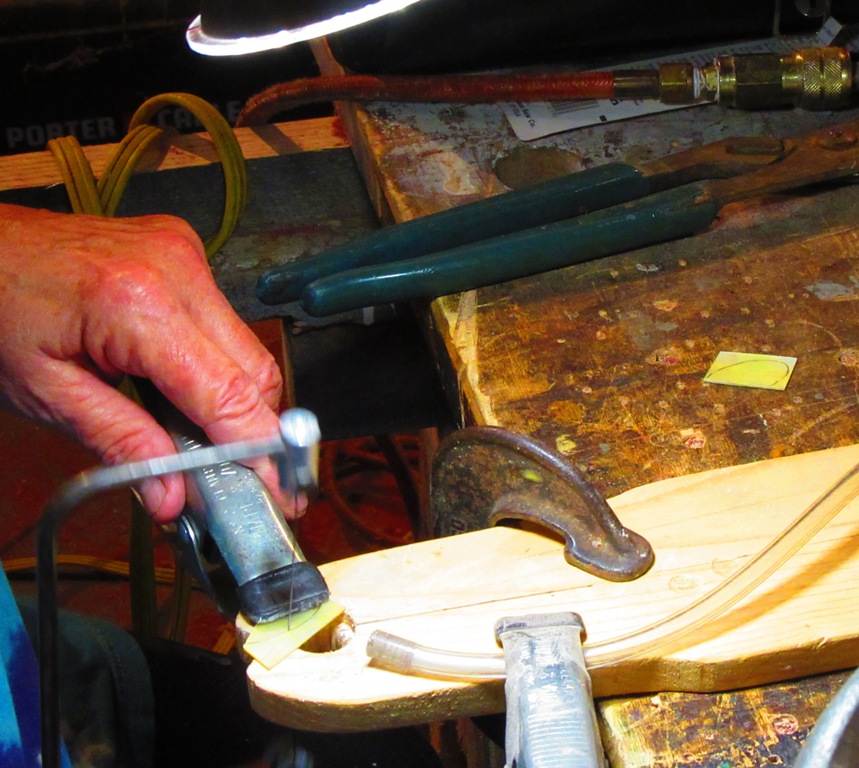
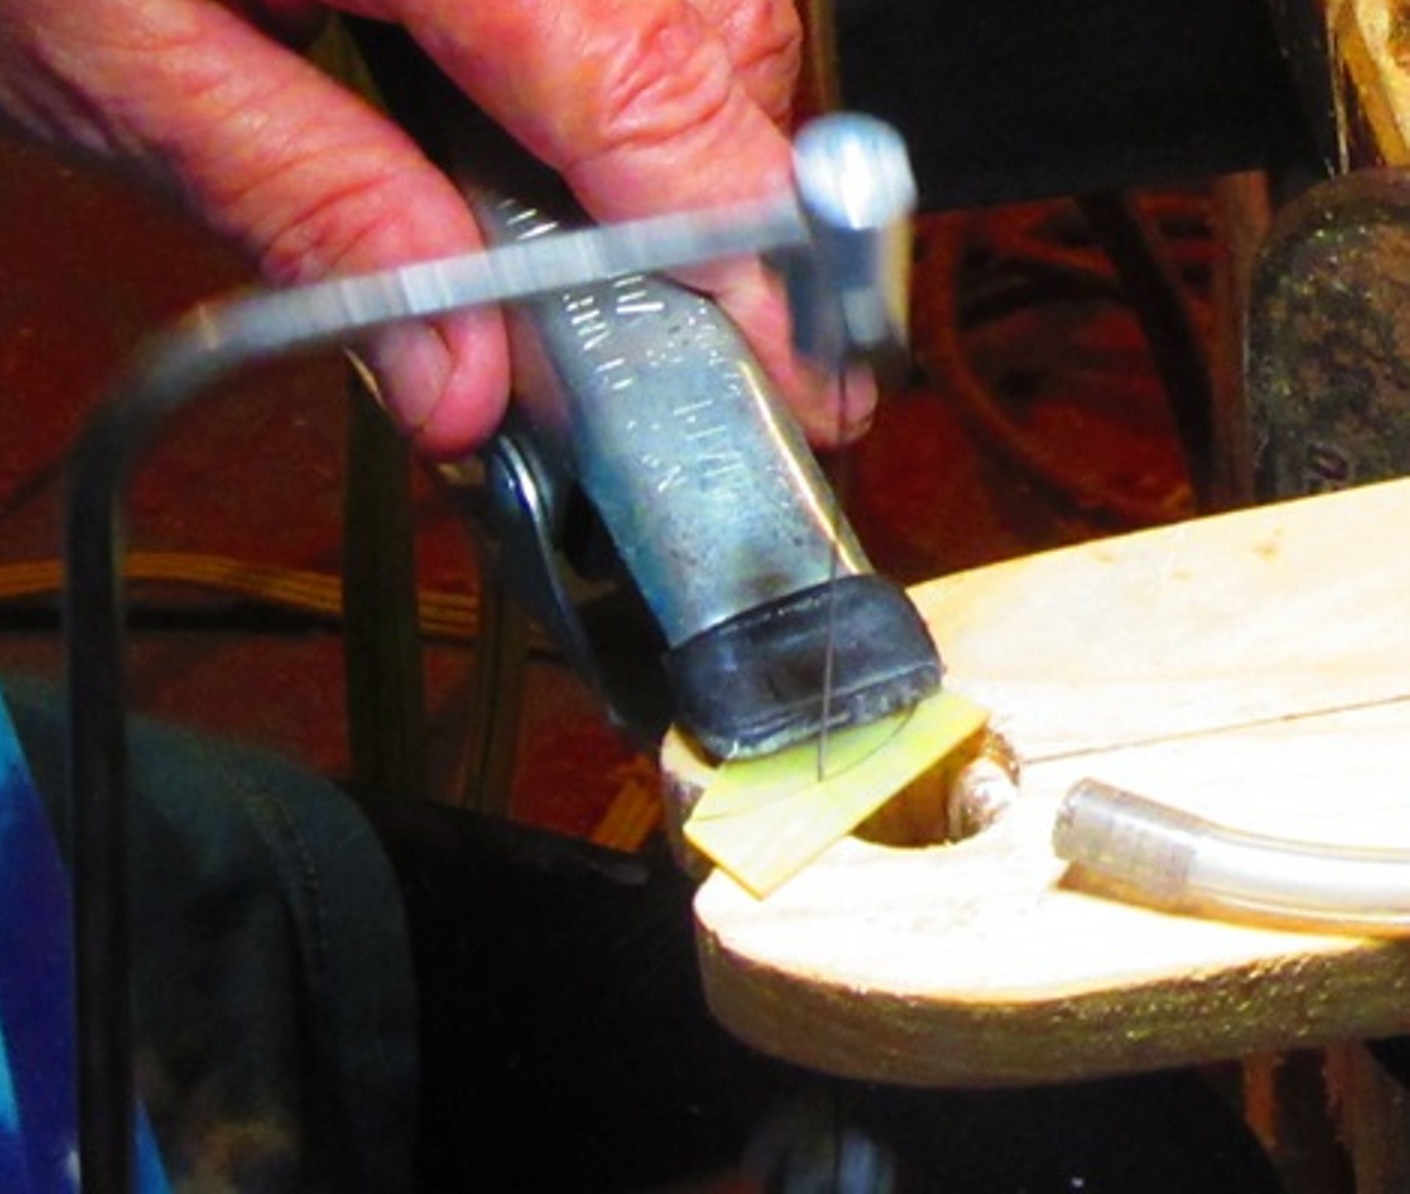
A lot of planning and creative thoughts go into what design to cut the pearl into. I began with the split heart in the heart and realized as I went on that pretty much any design can be made for the hearts.
Whatever the design I choose, I draw it onto the pearl pieces and cut it out and then sand any imperfections.
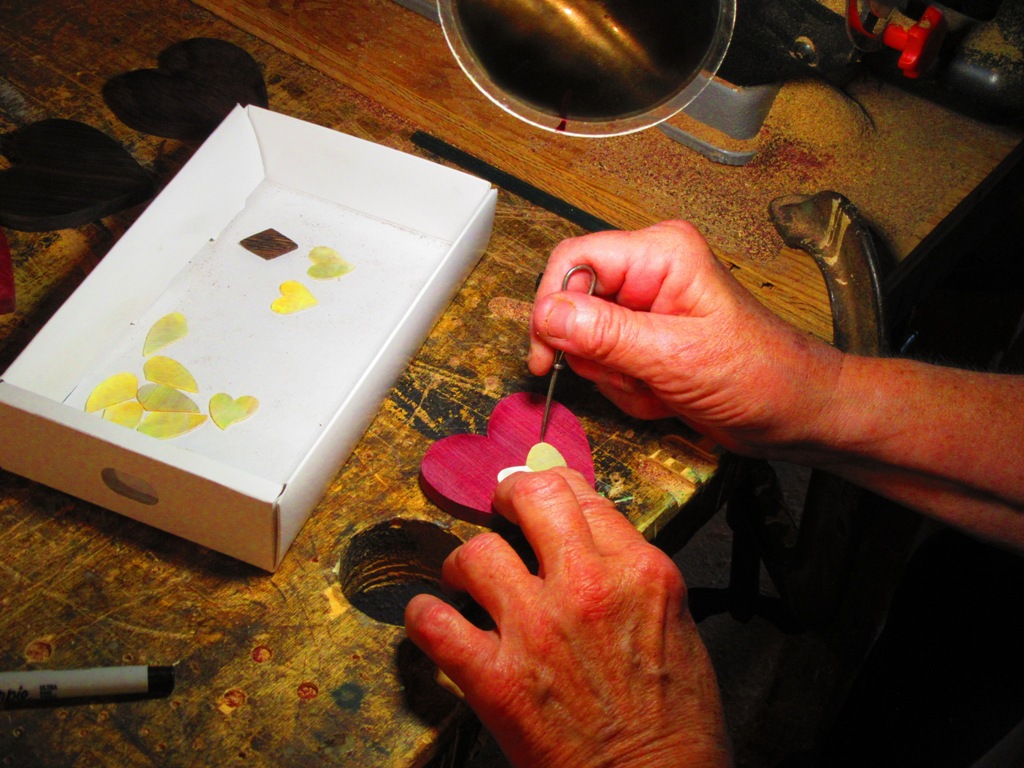
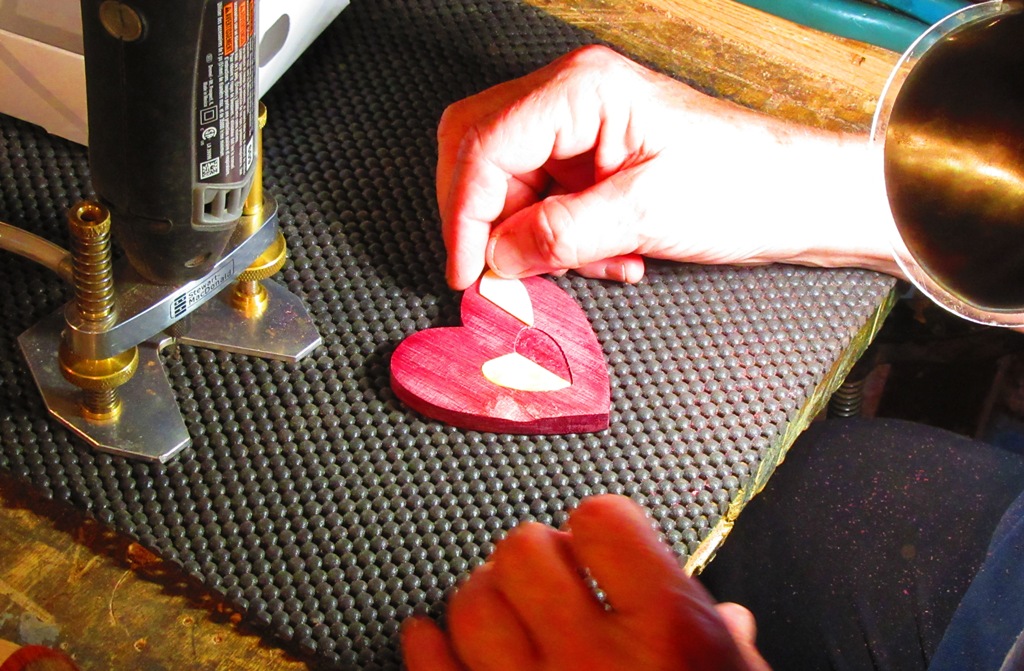
I then score the cut pearl pieces onto the hearts being extremely accurate.
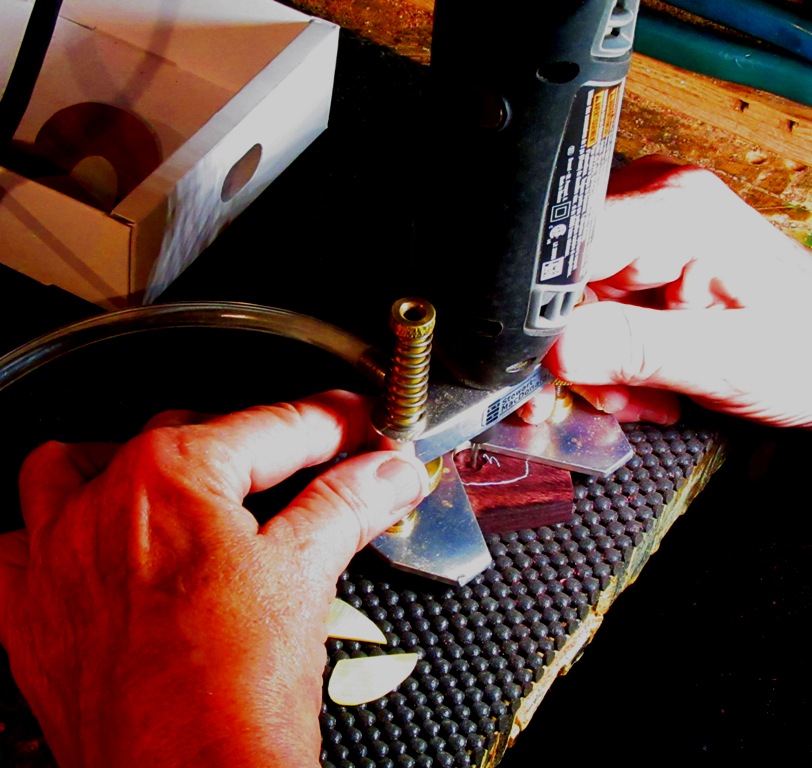
Then I rout out the cavity for the pearl constantly going back and forth to fit each piece as close to perfection as possible.
I glue the pieces of pearl into the cavity and sand smooth including final sanding and then coating with multiple coats of poly.

3” Purpleheart wood heart with Mother-of-Pearl rose inlay
The finish looks rippled, but the surface is smooth and those are reflections.
3” Purpleheart wood heart with Golden Mother-of-Pearl split heart inlay
3” Rosewood heart with small, solid Mother-of-Pearl heart inlay
3” Spalted Tamarind wood heart with solid Abalam heart inlay
3” Purpleheart wood heart with Golden Mother-of-Pearl poinsettia inlay
3” Purpleheart wood heart with Golden Mother-of-Pearl tree mosaic inlay
3” Ebony wood heart with Golden Mother-of-Pearl rosebud inlay that hangs askew
3” Purpleheart wood heart with green tinted Golden Mother-of-Pearl split shamrock inlay
3” Ebony wood heart with white Abalone dog paw inlay
DiZigns’ “Key to my Heart” line with an approx. 1” Yellowheart wood heart with Abalone inlay on key ring with antique skeleton key (can substitute any small dot heart)
7” 3 heart Zebrawood hanging piece with beads and Mother-of-Pearl solid heart inlay in small heart
7” 3 heart Zebrawood hanging piece with beads and Mother-of-Pearl solid heart inlay in small heart
6” 3 heart Zebrawood hanging piece with beads and solid Abalam heart inlay in small heart
6” silhouette
Lacewood hearts with Abalone dot inlay
Bocote wood hearts with Abalone dot inlay
“Pearl of my Hearts” made from Marblewood and Tiger Caspi (put with my drawstring bags, I made them for the 2016 Made in NH Expo for their marketing campaign)
Olivewood heart with Abalone dot inlay
mix of dot inlay hearts, some with Abalone and some with Golden Mother-of-Pearl inlays, with Mahogany, Bocote, Osage Orange, Rosewood, Myrtle woods
Mahogany heart with Abalone dot inlay
Osage Orange heart with Abalone dot inlay
Rosewood heart with Golden Mother-of-Pearl dot inlay
Purpleheart wood heart with Golden Mother-of-Pearl dot inlaty
Tiger Caspi wood heart with Abalone dot inlay
Mahogany, Rosewood, Purpleheart and Marblewood hearts with Abalone and Golden Mother-of-Pearl dot inlays
Marblewood hearts with Abalone dot inlays
Olivewood heart side grain
Bocote wood side grain
Tiger Caspi side grain
Spring 2017 Giveaway Hearts: Rosewood, Mahogany, Curly Maple
The thinness of this Rosewood heart
Mahogany thin hearts with jewel embellishment
Mahogany thin hearts with jewel embellishment
Mahogany thins with heart cutout and jewel embellishment
Mahogany thins with heart cutout and jewel emebellishment
Purpleheart wood heart with Golden Mother-of-Pearl initials inlay
Purpleheart wood heart with Golden Mother-of-Pearl initials inlay
Purpleheart wood heart with Golden Mother-of-Pearl “MOM” inlay
Ebony wood heart with Golden Mother-of-Pearl initials inlay